Let me tell you a story. Early in my knitting journey, I spent over a hundred hours and a small fortune on beautiful merino yarn to knit my first cabled sweater. I followed the pattern to the letter. I finished, wove in the ends, and triumphantly put it on… only to find it could have fit two of me. It was a beautiful, unwearable dress. My mistake? I had skipped the most important ten-by-ten-centimeter square in all of knitting: the gauge swatch.
If you’re reading this, you’ve likely felt that sting of disappointment. For over 20 years, as a knitter, designer, and teacher, I’ve seen this scenario play out time and time again. It is, without a doubt, the number one reason handmade garments fail. In this guide, we're going to reframe how you think about gauge, transforming it from a frustrating obstacle into your secret weapon for creating garments that fit perfectly, every single time.
What is Gauge, Really? (And Why It's So Personal)
At its core, gauge is simple: it’s the density of your knitting, measuring how many stitches and rows fit into a set area (usually 4x4 inches). But here’s the secret: gauge isn’t a universal standard. It’s the unique result of the yarn, your needles, and your personal tension—how you hold the yarn, which is as unique as your handwriting. That’s why two people can use the exact same materials and get two different gauges. If your gauge is different from the pattern's, the math no longer works, and the fit will be off.
The Perfect Swatch: A 4-Step Process
The goal of a gauge swatch is to create a mini-version of your final project’s fabric. A tiny, unblocked square is a lying swatch; it won't tell you the truth. Follow these four steps for a swatch you can trust.
- Use the Right Materials: You must use the exact yarn and needles you plan to use for the project. Different needle materials create different amounts of friction, which can affect your gauge.
- Knit a Generous Swatch: A 4x4 inch swatch is the absolute minimum. I personally advocate for a 6x6 inch swatch. This larger size gives you a much more accurate picture of the fabric as you can measure from the center, away from the distorted edges.
- Mimic the Stitch Pattern: If the pattern says “gauge is 20 sts in stockinette,” your swatch must be in stockinette. Different stitch patterns have vastly different densities.
- Wash and Block Your Swatch: This is the most skipped—and most critical—step. An unblocked swatch is a useless swatch. You must treat it the same way you intend to treat your finished garment, as many fibers "bloom" or grow significantly when washed.
Reading Your Swatch: The Moment of Truth
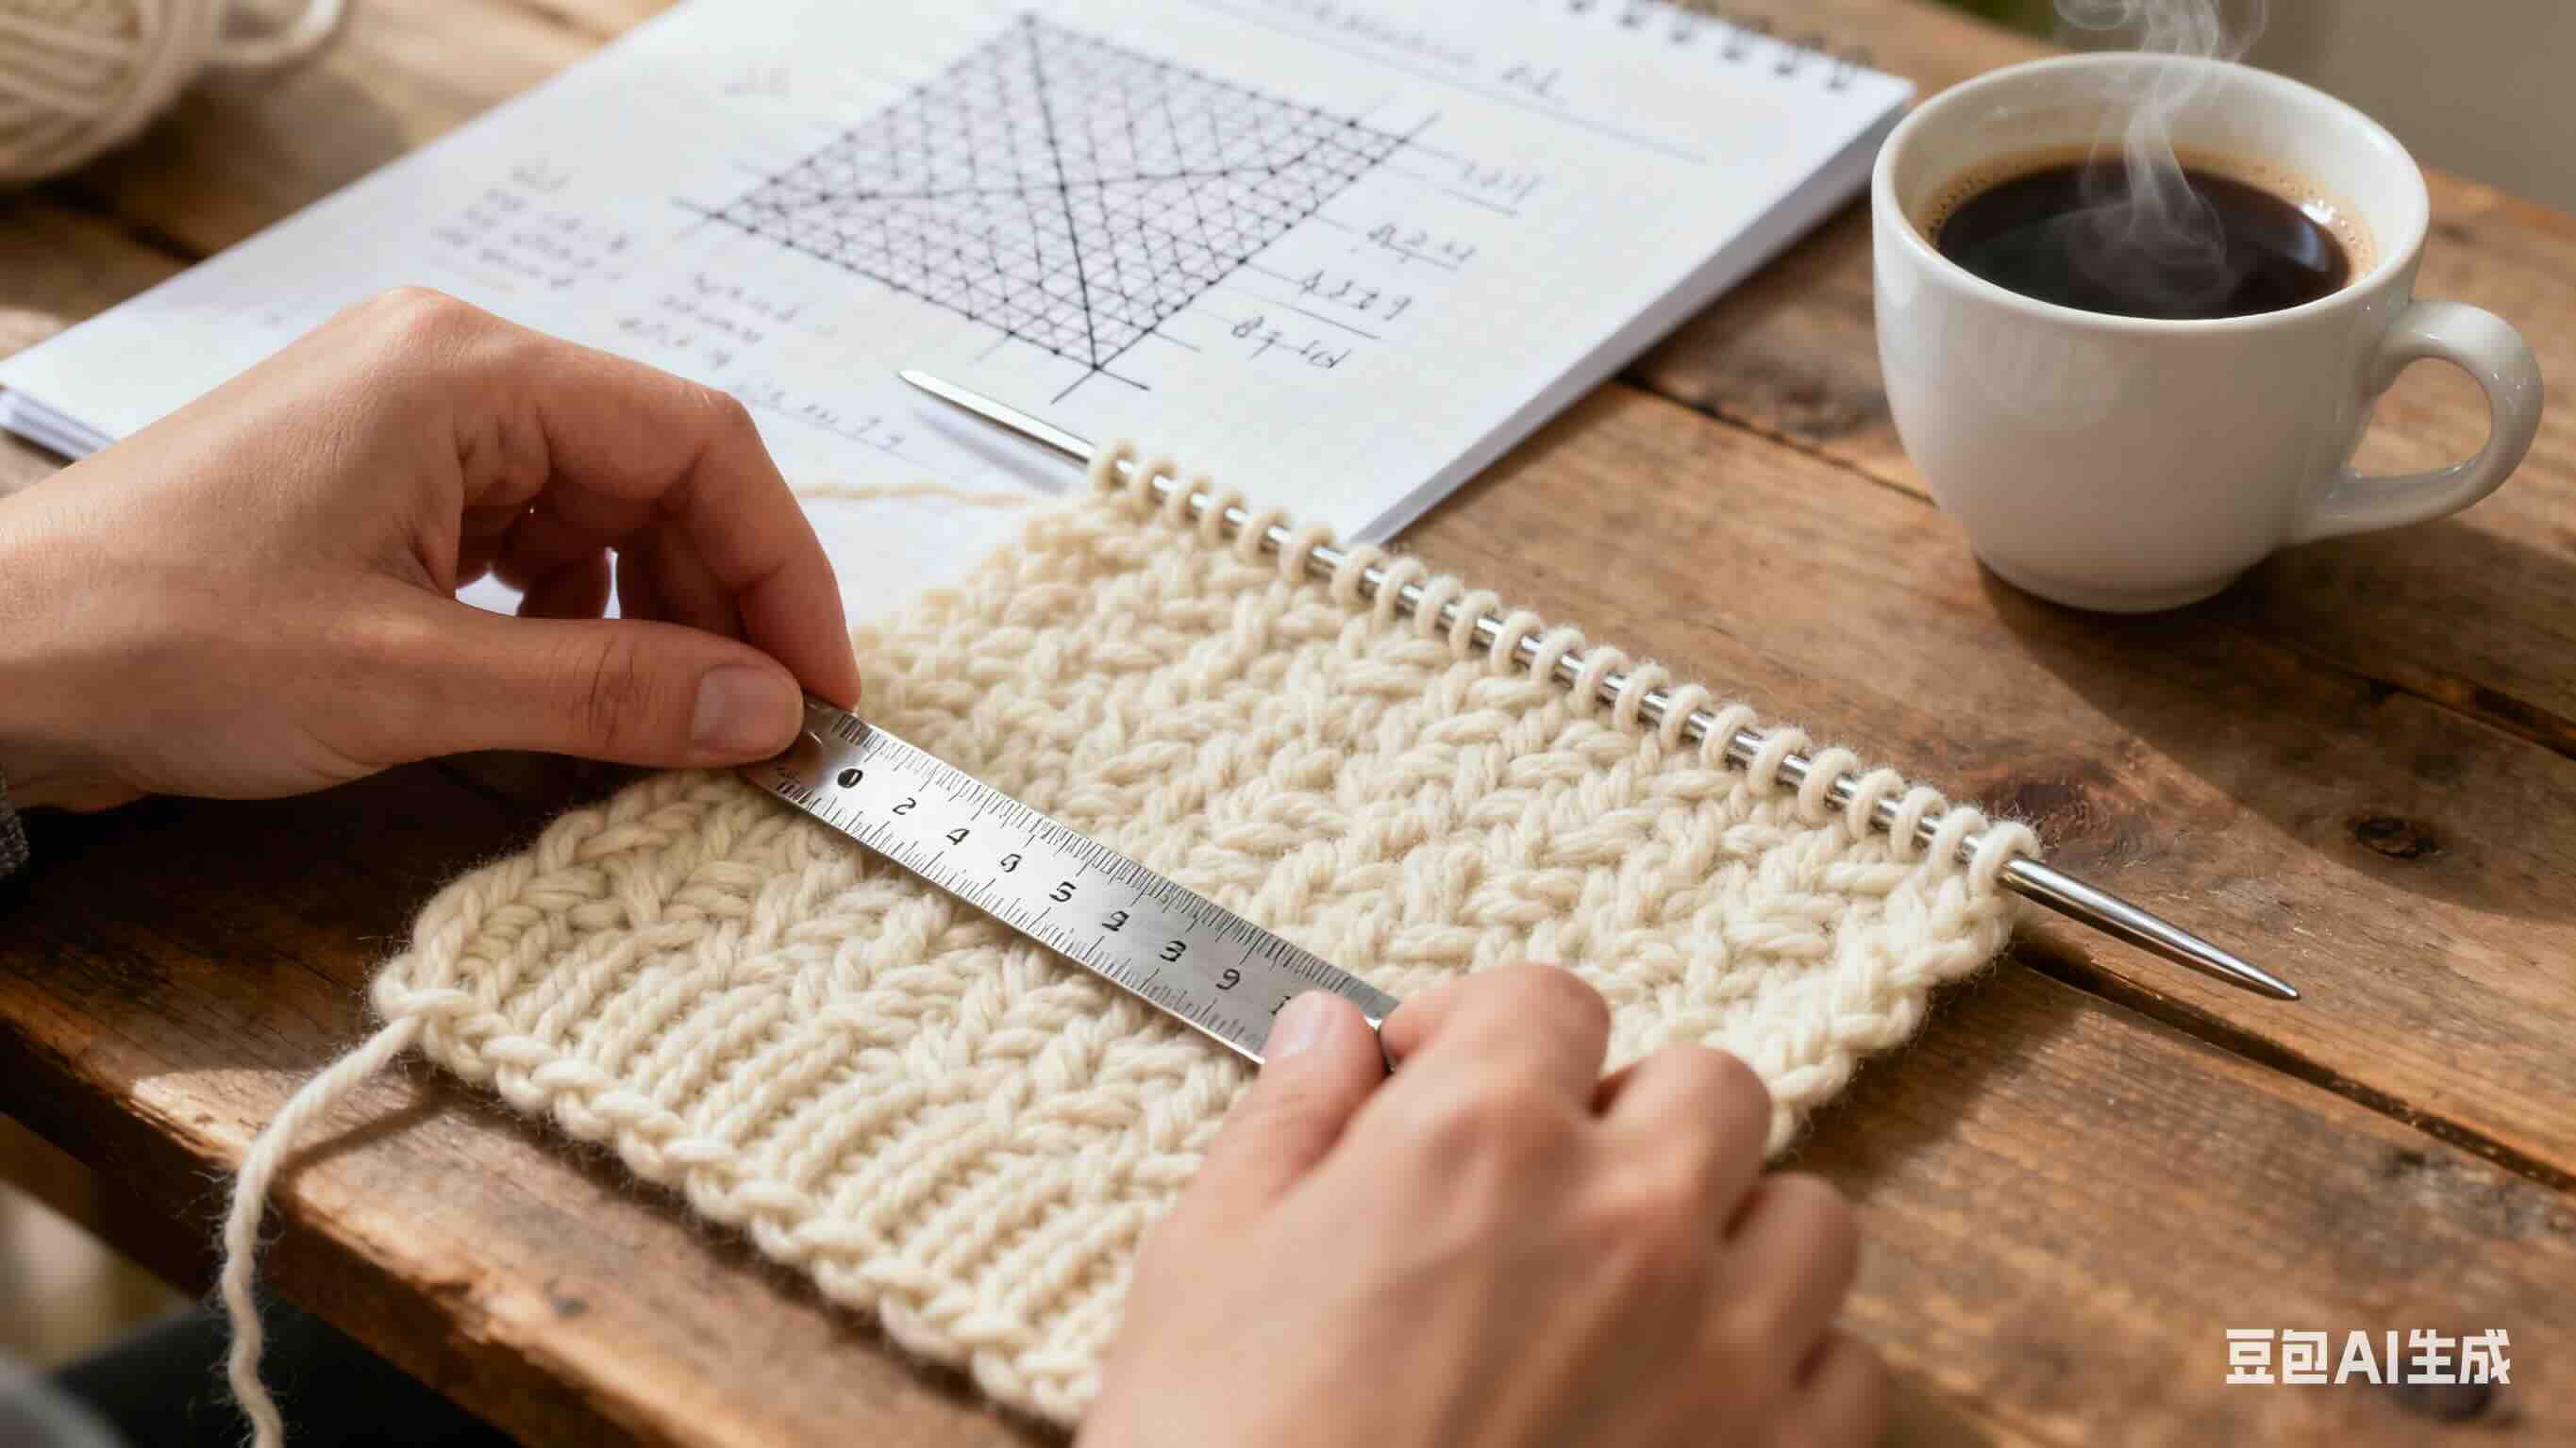
Once your swatch is completely dry, it’s time to measure. Grab a rigid ruler or a dedicated gauge tool. Lay your swatch on a flat surface and count the number of “V” shapes (stitches) that fit within the central 4 inches horizontally. Then, count the number of rows vertically in the same area. Precision is your friend—don't be afraid to count half or quarter stitches!
My Gauge is Off! Now What? (Don't Panic)
If your numbers don’t match the pattern, don't worry! This is a normal part of the process. Your primary method for adjusting gauge is changing your needle size.
- If you have MORE stitches than the pattern calls for (e.g., 22 sts instead of 20), your knitting is too tight. You need to make each stitch bigger. Go UP a needle size (e.g., from a US 6 to a US 7) and swatch again.
- If you have FEWER stitches than the pattern calls for (e.g., 18 sts instead of 20), your knitting is too loose. You need to make each stitch smaller. Go DOWN a needle size (e.g., from a US 6 to a US 5) and swatch again.
What if your stitch gauge is right, but row gauge is off? For most patterns that give length measurements (e.g., “Knit for 10 inches”), this is less critical. You can simply follow the length instructions. If you just can't get gauge while also creating a fabric you like, it’s a clear sign that the yarn is not a good match for the pattern. This is the point where you should consult a comprehensive Yarn Substitution Guide.
An Advanced Tip: Doing the "Swatch Math"
What if you love the fabric you’re creating at a different gauge? You can recalculate the pattern, an empowering but advanced technique. For example, to find your new cast-on number for a sweater bust, you would use this formula: (Pattern's Total Bust Stitches / Pattern's Stitch Gauge) * Your Stitch Gauge = Your New Cast-On Number. Be warned: you will have to apply this same logic to every shaping instruction. Tools like a Knitting Gauge Converter can help you visualize the changes.
Final Thoughts: Embrace the Swatch, Love the Fit
The gauge swatch is not your enemy. It is not a waste of time or precious yarn. It is a small, simple investment that protects the dozens or hundreds of hours you will pour into your project. It's the conversation between you, your yarn, and your needles that determines the success of your finished piece.
By learning to swatch correctly and interpret the results, you are taking the single biggest step toward knitting garments that you will be proud to wear. You are honoring your own hard work. The perfect fit you achieve will be your greatest reward.