There are few phrases in a knitting pattern that can make your heart sink quite like, “…at the same time, decrease 1 stitch at neck edge every other row 5 times, and decrease 1 stitch at armhole edge every 4th row 3 times.” It’s enough to make you want to knit nothing but scarves for the rest of your life. I've worked with countless knitters over my 20-year career who feel that sweater shaping is a form of complex calculus, accessible only to seasoned designers.
I’m here to tell you that this is a myth. The math behind 99% of all sweater shaping is nothing more than simple division. It’s the secret that turns a flat piece of fabric into a three-dimensional garment that fits the human body. Understanding this math is the key to unlocking your ability to not just follow patterns, but to adapt, modify, and even design your own sweaters with confidence.
In this guide, we're going to demystify shaping entirely. I will give you one universal formula that you can use for sleeves, necklines, and body shaping. By the end, you’ll see shaping not as a hurdle, but as an intuitive and empowering part of the creative process.
Why We Shape: The Basics of Increases & Decreases
Before we get to the math, let’s quickly cover the ‘why’. All shaping in knitting is accomplished with two basic tools: the increase and the decrease.
- Increases make your fabric wider. You use them when moving from a narrower part of the body to a wider one (like from a sleeve cuff up to the bicep).
- Decreases make your fabric narrower. You use them when you need to taper the fabric (like shaping a V-neck or the crown of a hat).
The Simple Math Behind All Even Shaping
Almost every instruction for evenly-spaced shaping, no matter how complex it sounds, can be figured out with one simple formula. You just need to know two things: how many stitches to change, and over how many rows to make those changes.
| Step | What You Need to Know | Example (Bottom-Up Sleeve) |
|---|---|---|
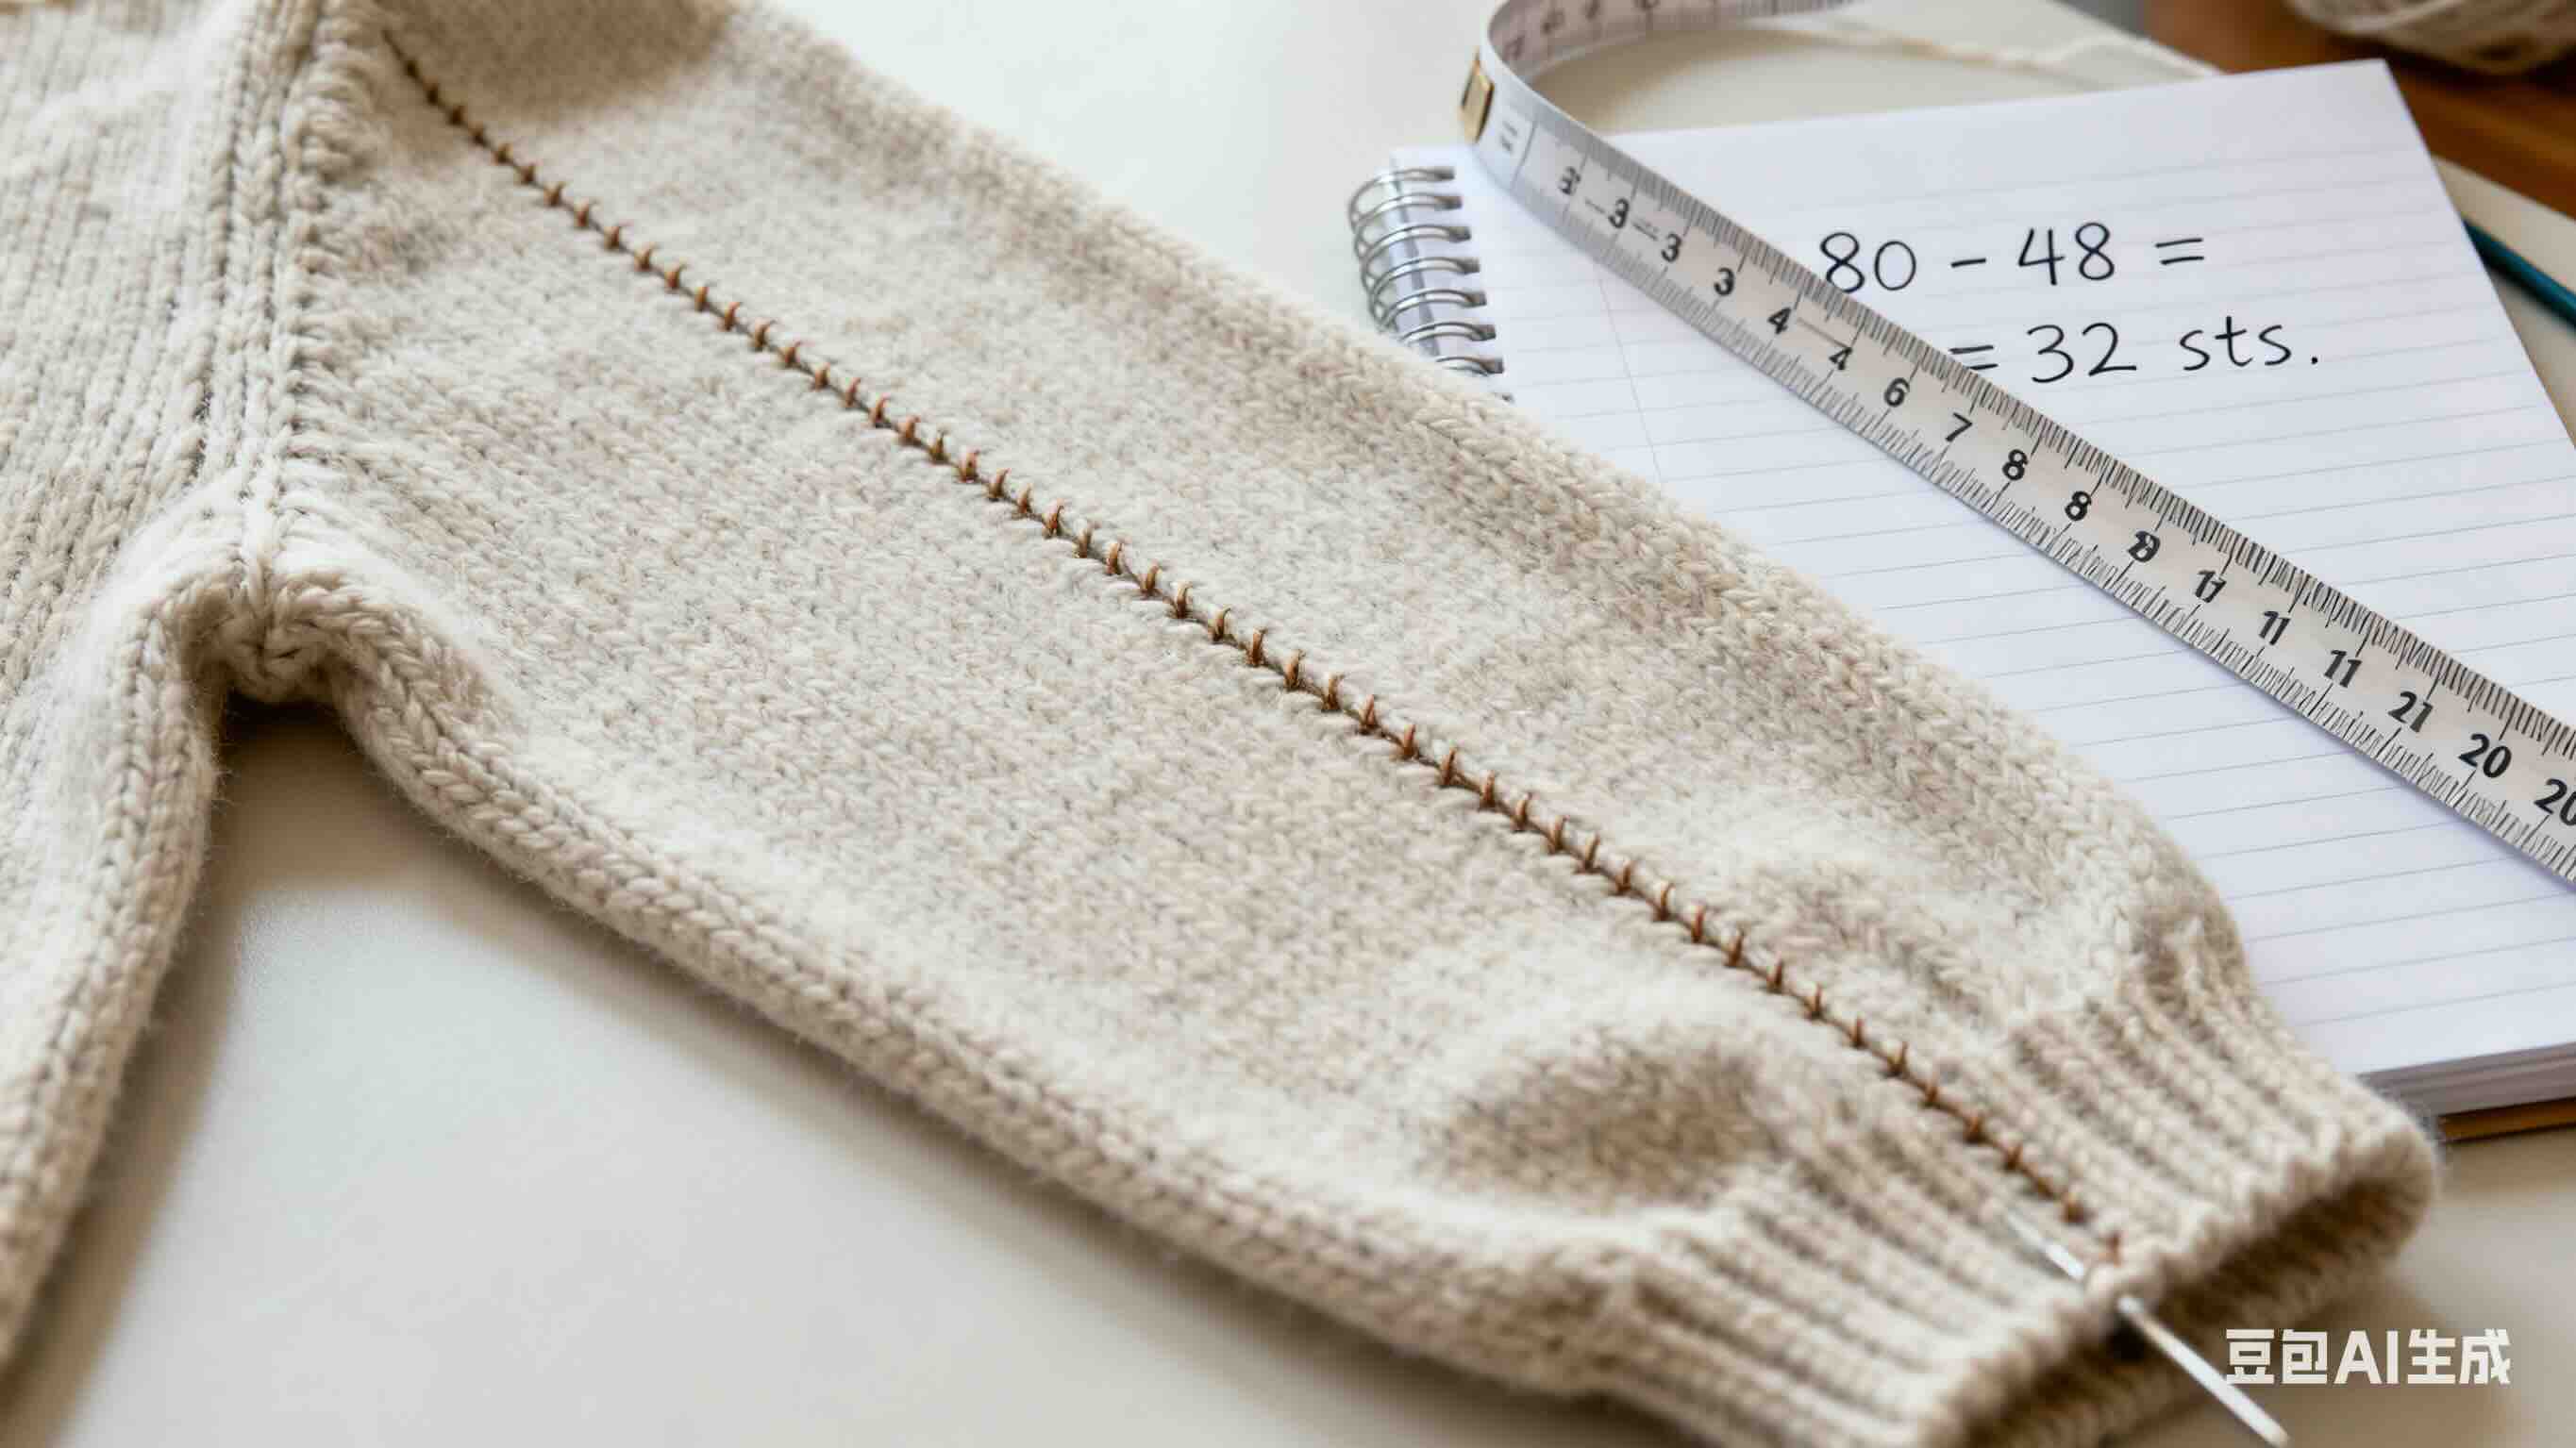
| 1. The Goal | Total # of stitches to increase or decrease. | 80 stitches (bicep) - 48 stitches (cuff) = 32 stitches to increase. |
| 2. The Canvas | Total # of rows for the shaping, based on your row gauge. | 17 inches * 6 rows/inch = 102 rows. |
| 3. The Calculation | Total Rows / Total Stitches to Change = The Interval | 102 rows / 32 stitches = ~3.19. Increase 1 stitch every 3rd row. |
A Note on Sleeve Shaping
For sleeves, you usually work increases in pairs (one at each end of the row). In this case, you divide your "goal" stitches by 2 before the final calculation. Using our example: 32 stitches / 2 = 16 increase rows. Then, 102 rows / 16 increase rows = 6.375. This translates to the much more common instruction: "Increase 1 stitch at each end every 6th row." This is the exact logic that powers our helpful Increase & Decrease Calculator. If you ever feel unsure, you can plug your numbers into the tool for a precise instruction.
Putting It Into Practice: Common Shaping Scenarios
Example 1: Shaping a Tapered Sleeve (Top-Down)
Let’s try a top-down sleeve. You have 80 stitches at the underarm and need to decrease to 48 stitches for the cuff over 17 inches. Your row gauge is 6 rows/inch.
- Stitches to Decrease: 80 - 48 = 32 stitches (16 decrease rows).
- Total Rows: 17 inches * 6 rows/inch = 102 rows.
- Calculation: 102 rows / 16 decrease rows = 6.375.
- Instruction: “Decrease 1 stitch at each end every 6th row.” You will do this 16 times.
Example 2: Shaping a Classic V-Neck
You are at the front of a sweater with 100 stitches. You place the center 2 stitches on a holder, leaving 49 stitches for each side. The shoulder needs 25 stitches, and the shaping happens over 8 inches. Your row gauge is 7 rows/inch.
- Stitches to Decrease: 49 - 25 = 24 stitches.
- Total Rows: 8 inches * 7 rows/inch = 56 rows.
- Calculation: 56 rows / 24 stitches = 2.33.
- Instruction: You will decrease 1 stitch at the neck edge approximately every other row.
The Unskippable Foundation: Your Gauge Swatch
By now, you should see a common theme: it all comes back to gauge. All of this simple shaping math is meaningless if you don’t have an accurate measurement of your gauge, especially your row gauge. If your gauge is off, your calculations will be off, and your fit will be off. If you ever find yourself working with a different gauge than the pattern, our Knitting Gauge Converter is an essential tool for figuring out your new stitch and row counts before you can even begin to calculate your shaping rates.
Final Thoughts: You Are the Architect
The ability to calculate shaping is the moment you transition from simply following a recipe to becoming the chef. It empowers you to adjust any pattern to fit your unique body, to fix mistakes in patterns, or to create garments from scratch. That seemingly complex instruction to “decrease every 4th row 12 times” is no longer a command to be blindly followed, but a simple mathematical sentence you can now read, understand, and even write yourself.
I encourage you to start small. On your next sweater project, try recalculating the sleeve shaping yourself. See how your numbers match up with the pattern’s. With each small success, your confidence will grow, and you’ll be one step closer to becoming the true architect of your own handmade wardrobe.